
You’ve been meaning to build a website for months. Maybe longer. Every time you sit down to start, you hit the same wall: too many options, too much technical language, and zero clarity on where to actually begin.
You’re not confused because you’re not smart enough. You’re confused because most beginner guides are written for people who already know the basics. They skip the decisions that actually matter, like which platform to use, what hosting really means, and why your first website doesn’t need to be perfect to be live.
This guide is different. It walks you through how to build your first website in easy English, from zero to a live page on the internet, without writing a single line of code. Every step is explained the way a friend would explain it, not the way a developer would.
What you’ll have by the end: A real, live website
- A clear understanding of what platform fits your goals.
- Your domain name chosen and registered.
- Your site live on the internet.
- The core pages are built and ready.
- A simple plan for what to do next.
Before You Build Anything: Answer These Two Questions
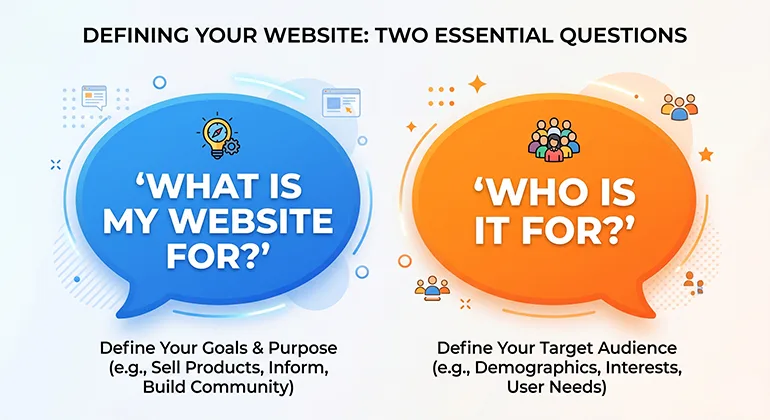
Most beginners skip straight to choosing colours and fonts. That’s backwards. Before you touch any platform, you need two things clear in your mind, because they determine every decision that follows.
Question 1: What is your website for?
Every website has a primary job. It might be to show your portfolio and get freelance clients. It might be to sell products. It might be to publish articles and build an audience. It might be to promote a local service.
Be specific. ‘I want a website’ is not specific enough. ‘I want a website to show my photography work and get wedding bookings’ is specific. That single sentence tells you which platform to use, which pages to build, and what your homepage needs to say.
Question 2: Who is going to visit it?
Think about the person landing on your homepage for the first time. What do they need to see in the first five seconds to stay? What question are they trying to answer? What action do you want them to take?
You don’t need a detailed persona or a marketing strategy. You just need a clear mental image of who you’re talking to. Everything from your writing tone to your page layout should serve that person.
Quick action: Write this down before you continue
Finish this sentence: ‘My website is for [target person] who wants to [accomplish something], and I want them to [specific action].’ Example: ‘My website is for small business owners who want affordable design help, and I want them to contact me for a quote.’
Step 1: Choose the Right Platform for Your Goals
The platform you choose is the tool you’ll use to build and manage your website. There are two main approaches for beginners in 2026: website builders and WordPress. Neither is universally better, the right choice depends on what you’re building.
Website builders — fastest to launch, easiest to use
A website builder is an all-in-one platform where design, hosting, and content management are bundled together. You log in, choose a template, drag elements around, and publish. No separate hosting setup, no installing software, no technical configuration.
For most beginners, a website builder is the fastest path from ‘I want a website’ to ‘my website is live’. Framer is our top recommendation for portfolios, startup landing pages, and personal brands, it has over 1,100 free templates, a free plan to test with, and an editor that most beginners can figure out in an afternoon. Webflow is the right choice if you want more design control and plan to publish a blog or manage lots of content.
WordPress with hosting — more control, slightly more setup
WordPress is the world’s most popular content management system, powering over 40% of all websites. It gives you complete ownership of your site and is the best long-term foundation for a content-heavy website, affiliate site, or business blog.
The trade-off is a slightly longer setup. You need to purchase hosting separately (we recommend Hostinger, affordable, beginner-friendly), install WordPress, and choose a theme. The whole process takes about an hour if you follow the steps correctly, but it’s more involved than clicking ‘publish’ on a website builder.
Platform | Best For | Starting Cost | Coding Needed? |
Framer | Portfolios, startups, landing pages | Free plan / $10/mo paid | None |
Webflow | Content sites, agencies, blogs | Free plan / $14/mo paid | None (some CSS helps) |
WordPress + Hostinger | Blogs, affiliate sites, business | ~$3/mo hosting + free | None |
Shopify | Online stores, eCommerce | $29/mo | None |
Wix | Simple sites, personal use | Free plan / $17/mo paid | None |
Top Pick for Beginners Framer
Build a modern, professional website without code. Free plan available. Over 1,100 free templates. Most beginners have a site live within their first session.
Try Framer free -> framer.com
Best for Content & Blogs Hostinger + WordPress
Affordable, beginner-friendly hosting with one-click WordPress install. Free domain included on most plans. Starts at under $3/month.
Get started -> hostinger.com
Step 2: Choose and Register Your Domain Name
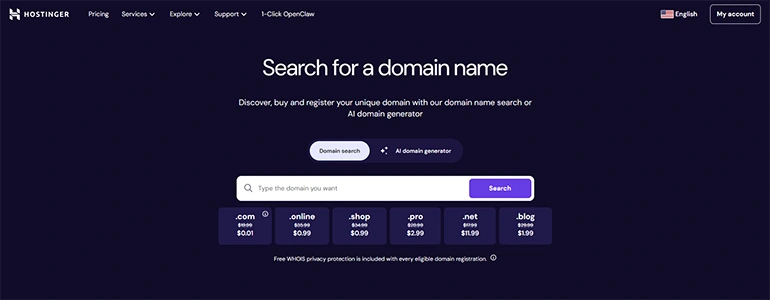
Your domain name is your website’s address on the internet, for example, rexohub.com. It’s what people type to find you, what shows up in Google results, and what appears in your email address if you set up a professional email later.
Choosing a domain sounds simple, but beginners often overthink it. Here are the rules that actually matter:
- Keep it short: Two or three words maximum. Long domain names are hard to remember and easy to mistype.
- Use .com if available: It’s still the most trusted and recognised extension globally. If your .com is taken, .co or .io are reasonable alternatives for tech or startup sites.
- Make it easy to say and spell: Say your domain name out loud. If you have to spell it out for someone, it’s too complicated.
- Avoid hyphens and numbers: They make domains harder to remember and look less professional.
- Don’t spend weeks on this: A decent domain chosen quickly is better than a perfect domain chosen never. You can always redirect or rebrand later.
Where to register your domain: If you’re using a website builder like Framer, you can purchase a domain directly through the platform when you upgrade to a paid plan. Framer even includes a free domain on yearly plans. If you’re using WordPress with Hostinger, Hostinger includes a free domain for the first year with most hosting plans.
Avoid this: Don’t register your domain and hosting separately at first
Many beginners register a domain on one site and hosting on another, then spend an hour figuring out how to connect them. For your first website, keep it simple: use a hosting provider that includes a free domain and handles the connection automatically. Hostinger does this well.
Step 3: Set Up Your Hosting (If Using WordPress)
If you chose a website builder like Framer or Wix in Step 1, you can skip this step entirely; hosting is included in your plan and handled automatically.
If you chose WordPress, this step takes about 20 minutes and is simpler than it sounds.
Step 1 — Sign up for hosting
Go to hostinger.com and choose the Premium Shared Hosting plan — it supports multiple websites and includes daily backups. Select a 12-month or 24-month plan for the best price.
Step 2 — Register your domain
During checkout, Hostinger will offer you a free domain for the first year. Choose your domain name here and register it as part of the signup process.
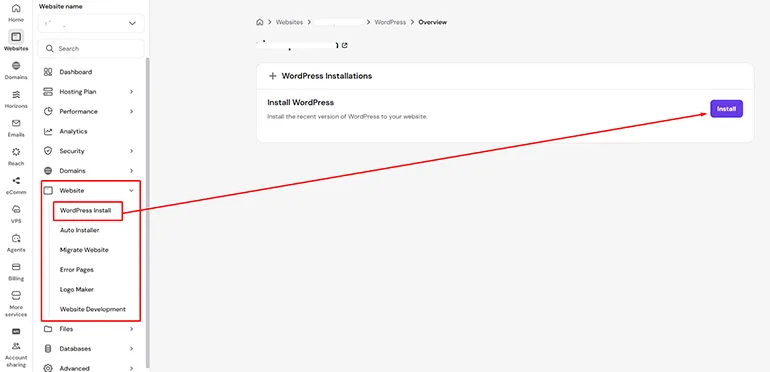
Step 3 — Install WordPress in one click
Once your account is set up, go to hPanel (Hostinger’s control panel) and find the WordPress installer. Click ‘Install’, choose your domain, set a username and password, and WordPress will be ready in under a minute.
Step 4 — Log in to WordPress
Your WordPress dashboard is at yourdomain.com/wp-admin. Log in with the username and password you created. This is where you’ll manage everything — pages, posts, plugins, and design.
Step 4: Choose a Template and Customise Your Design
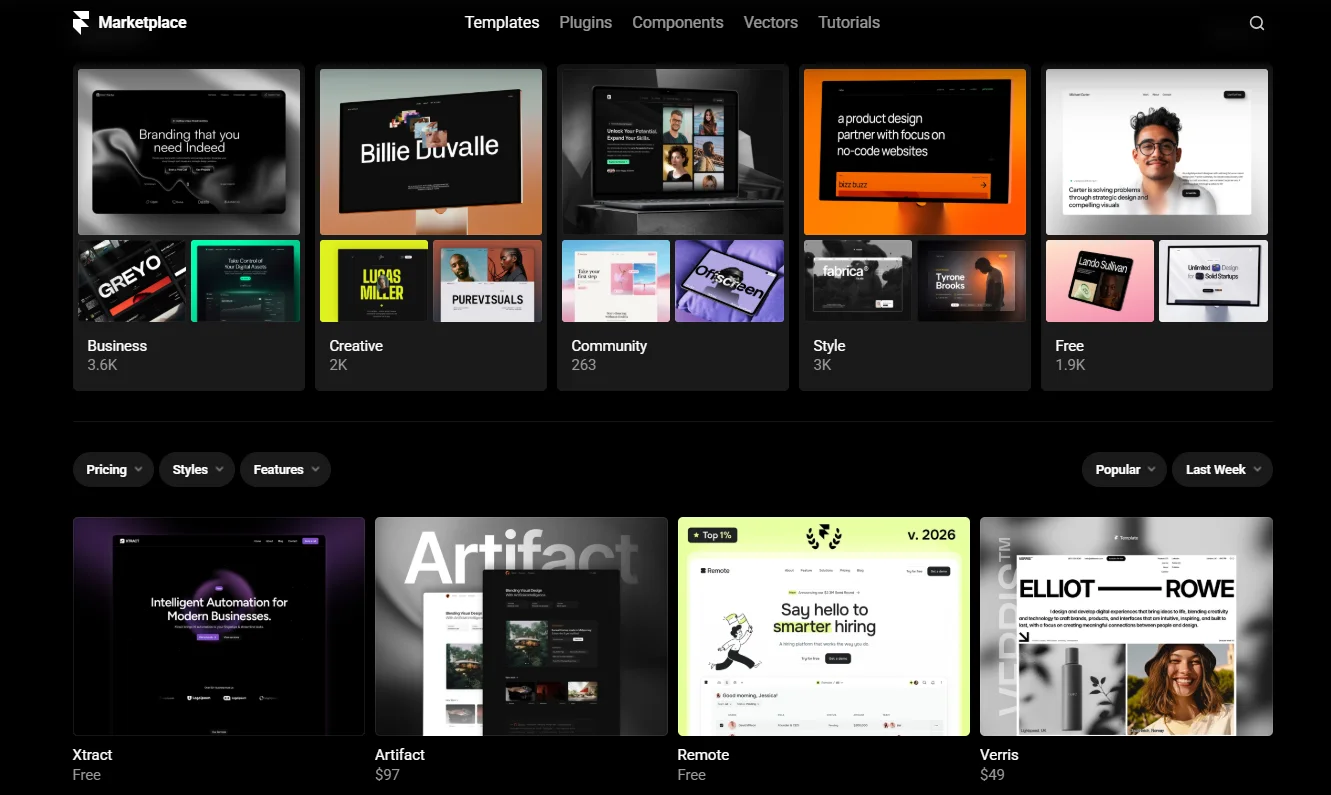
A template is a pre-designed website layout that you customise with your own content, colours, and branding. Starting from a template saves enormous amounts of time compared to designing from scratch — and for your first website, it’s the right approach.
What to look for in a beginner template
- It includes all the pages you need — homepage, about, contact, and any category-specific pages
- It looks good on mobile — preview the template on a small screen before choosing it
- The design is clean rather than complicated — busy, over-designed templates are harder to customise
- Real text is used instead of Lorem Ipsum placeholders — this makes it easier to see how your content will look
- It has positive reviews from other users — especially beginners mentioning ease of customisation
How to customise without feeling lost
Don’t try to customise everything at once. Follow this order: replace the text first, then swap out images, then adjust colours, then tweak layout. Each of these is a separate task — doing them one at a time keeps the process manageable and prevents the overwhelm that makes beginners abandon their project halfway through.
For colour choice, pick two or three colours that represent your brand and use them consistently. For fonts, choose one for headings and one for body text — no more. Simple combinations look more professional than elaborate ones.
Step 5: Build Your Core Pages
You don’t need twenty pages to launch. You need five. These are the pages every website should have before going live — anything else can be added later.
Homepage
This is your first impression and your most important page. It needs to do three things in the first five seconds: tell visitors who you are, explain what you offer or what your site is about, and give them a clear next step (a button, a link, a form). Don’t try to put everything on the homepage. Keep it focused.
About page
People buy from people they trust. The about page is where you build that trust. Write it as if you’re talking to one specific person — your target visitor. Don’t list credentials for the sake of listing them. Instead, explain your story in terms of how it benefits the reader. ‘I’ve spent five years helping small businesses with X’ is more compelling than ‘I have five years of experience in X.’
Services or Portfolio page
If you’re offering services, list them clearly with a short description and a call to action for each. If you’re a creative professional, showcase your best three to five pieces of work rather than everything you’ve ever made. Quality beats quantity for first impressions.
Contact page
Make it easy to reach you. A simple contact form is enough. Include your email address as a backup. If you’re a local business, include your location. Don’t ask for more information than you need — the fewer fields on a contact form, the more people fill it in.
Privacy Policy page
This is the one page most beginners skip and shouldn’t. If your site collects any information — even just email addresses via a contact form — a Privacy Policy is legally required in many countries. Most website builders and WordPress plugins can generate a basic one for you automatically.
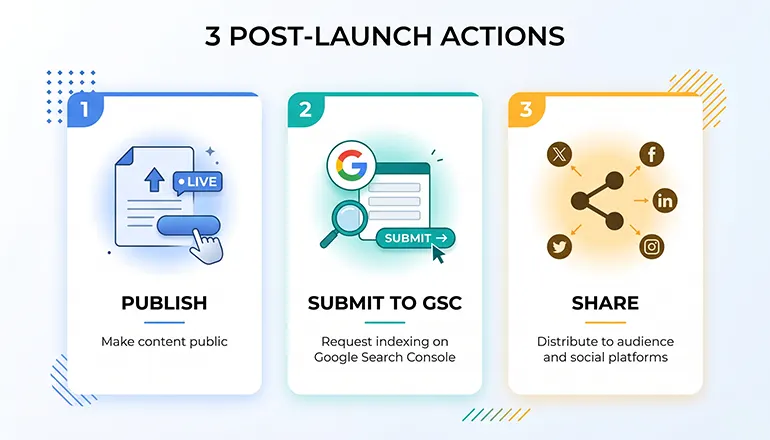
Step 6: Launch, Submit to Google, and Get Your First Visitors
Publishing your website is not the end — it’s the beginning of the actual work. But before you start thinking about long-term growth, there are three things to do immediately after you go live.
Publish and do a final check
Before you share your site with anyone, go through it yourself as if you’re a first-time visitor. Check every page on both desktop and mobile. Click every link to make sure it works. Read every piece of text for typos. Check that your contact form actually sends messages. These things sound obvious, but most beginner sites have at least one broken link or unsent form in them at launch.
Submit to Google Search Console
Google Search Console is a free tool that tells Google your website exists and lets you track how it appears in search results. Go to search.google.com/search-console, add your website, verify ownership, and submit your sitemap. This doesn’t guarantee fast indexing, but it gives Google a clear signal that your site is ready to be crawled.
Once submitted, use the URL Inspection tool to request indexing for your most important pages individually — homepage, about, and any key service or portfolio pages. This speeds up the process on a new site.
Share it with real people first
Before focusing on SEO or paid promotion, share your site with five to ten real people — friends, colleagues, or existing contacts who represent your target audience. Ask them to navigate it as if they found it through Google and give you honest feedback. This kind of direct feedback catches usability problems faster than any analytics tool and gives you a first round of genuine visitors.
You’re live — here’s what comes next
Your first website is a foundation, not a finished product. The most important thing now is consistency: add content regularly, update your pages as your work evolves, and keep improving based on what your visitors actually do. A site that’s actively maintained will always outperform a perfect site that never gets updated.
Frequently Asked Questions
Do I need to know how to code to build a website?
No. Every platform mentioned in this guide, Framer, Webflow, WordPress with a page builder, Wix, and Shopify, lets you build a complete, professional website without writing any code. You work visually: clicking, dragging, and editing text. Code knowledge can help with advanced customisation later, but it’s never required to get started or launch your first site.
How much does it cost to build a website?
It depends on what you build and which platform you use. Framer and Wix have free plans that let you publish a site with a subdomain (e.g., yourname.framer.website) at no cost. To use a custom domain (.com), you’ll need a paid plan — typically $10-17/month for a website builder. WordPress with Hostinger starts at under $3/month for hosting (a domain is often free the first year). Total first-year cost for a basic WordPress site: roughly $30-50 all in.
How long does it take to build a first website?
With a website builder and a template, most beginners can have a basic 4-5 page site live within a single day. Realistically, for something polished enough to share professionally, allow a weekend — Friday evening to Sunday afternoon, working at a comfortable pace. WordPress with hosting takes slightly longer for the initial setup but is manageable within the same timeframe. Complex sites with lots of custom pages, eCommerce, or advanced features take longer.
Should I use a website builder or WordPress?
For most beginners building their first website, start with a website builder like Framer. The setup is faster, the learning curve is gentler, and you’ll be live sooner. Choose WordPress if you’re planning a content-heavy site (lots of blog posts), want complete ownership of your files and data, plan to run an affiliate marketing site, or want the most flexibility to grow over time. Many people start with a builder and migrate to WordPress later — that’s a completely valid path.
What pages does my first website need?
Five pages are enough to launch: Homepage, About, Services or Portfolio, Contact, and Privacy Policy. Everything else — blog, FAQ, testimonials, case studies — can be added once the site is live and you have a clearer sense of what your visitors actually want. Launching with fewer, better pages is always better than delaying launch to build a more complete site.
Ready to Build Your First Website?
You now have a clear, step-by-step path from zero to a live website, without needing a developer, a design degree, or any coding knowledge. The only thing standing between you and a website is the decision to start.
If you’re still deciding which platform to use, read our full comparison of the best website builders for beginners — it covers every major option with honest notes on which type of project each one suits best.
If you’ve decided on WordPress, Hostinger is where we’d send a friend starting out today. If you want the fastest path to a polished, modern site, Framer is the place to start.
Your first step: Pick your platform and open a free account
Go to framer.com or hostinger.com and create a free account today. Browse the templates, pick one that fits your site type, and spend 30 minutes in the editor. You’ll know immediately whether it feels right, and you’ll be further along than you were an hour ago. For more help, browse the RexoHub Guides.